R-ITS-Z Internally Threaded Sockets
High load-bearing capacity

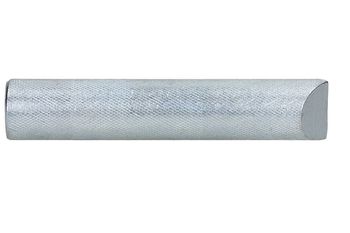
Features and benefits
- Allows removal of bolt to leave a re-usable socket in place
- High load-bearing capacity
- Close edge and spacing distances
- Expansion free functioning
- Available in zinc plated and stainless steel versions
Product information
Size |
Product Code |
Anchor |
Fixture |
Diameter |
|||
Socket diameter |
Length |
Internal thread length |
Max. thickness tfix for: |
Hole diameter |
|||
d |
L |
lg |
hnom,std |
df |
d1 |
||
[mm] |
[mm] |
[mm] |
[mm] |
[mm] |
[mm] |
||
M6 |
R-ITS-Z-06075 |
10 |
75 |
24 |
- |
7 |
- |
M8 |
R-ITS-Z-08075 |
12 |
75 |
25 |
- |
9 |
- |
R-ITS-Z-08090 |
12 |
90 |
25 |
- |
9 |
- |
|
M10 |
R-ITS-Z-10075 |
16 |
75 |
30 |
- |
12 |
- |
R-ITS-Z-10100 |
16 |
100 |
30 |
- |
12 |
- |
|
M12 |
R-ITS-Z-12100 |
16 |
100 |
35 |
- |
14 |
- |
M16 |
R-ITS-Z-16125 |
24 |
125 |
50 |
- |
18 |
- |
Base material
-

Non-cracked concrete C20/25-C50/60
Applications
- For fastening bolts
- Safety barriers
- Temporary works/formworks support systems
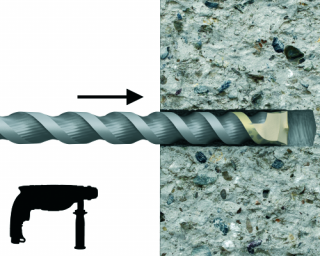
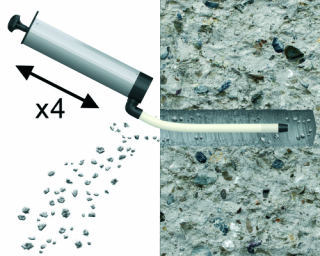
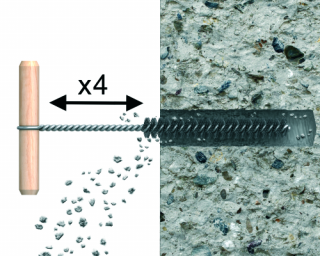
Installation guide

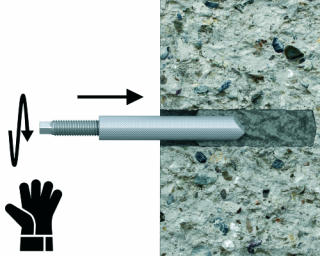

- After injecting resin, immediately insert the socket anchor, slowly and with a slight twisting motion until flush with surface
- Remove excess resin, then leave anchorage undisturbed until curing time has elapsed
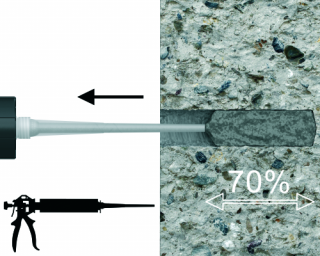
- Fill hole with the required resin to the recommended fill level. (Follow the relevant instructions for the resin product)
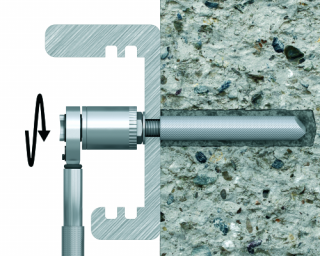
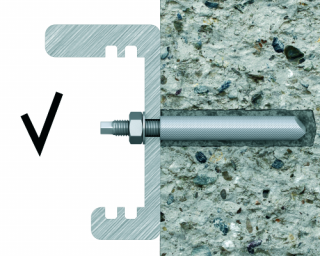
- Attach fixture and tighten the nut to the required torque.